QUICK GUIDE
MEASUREMENT PROCESS
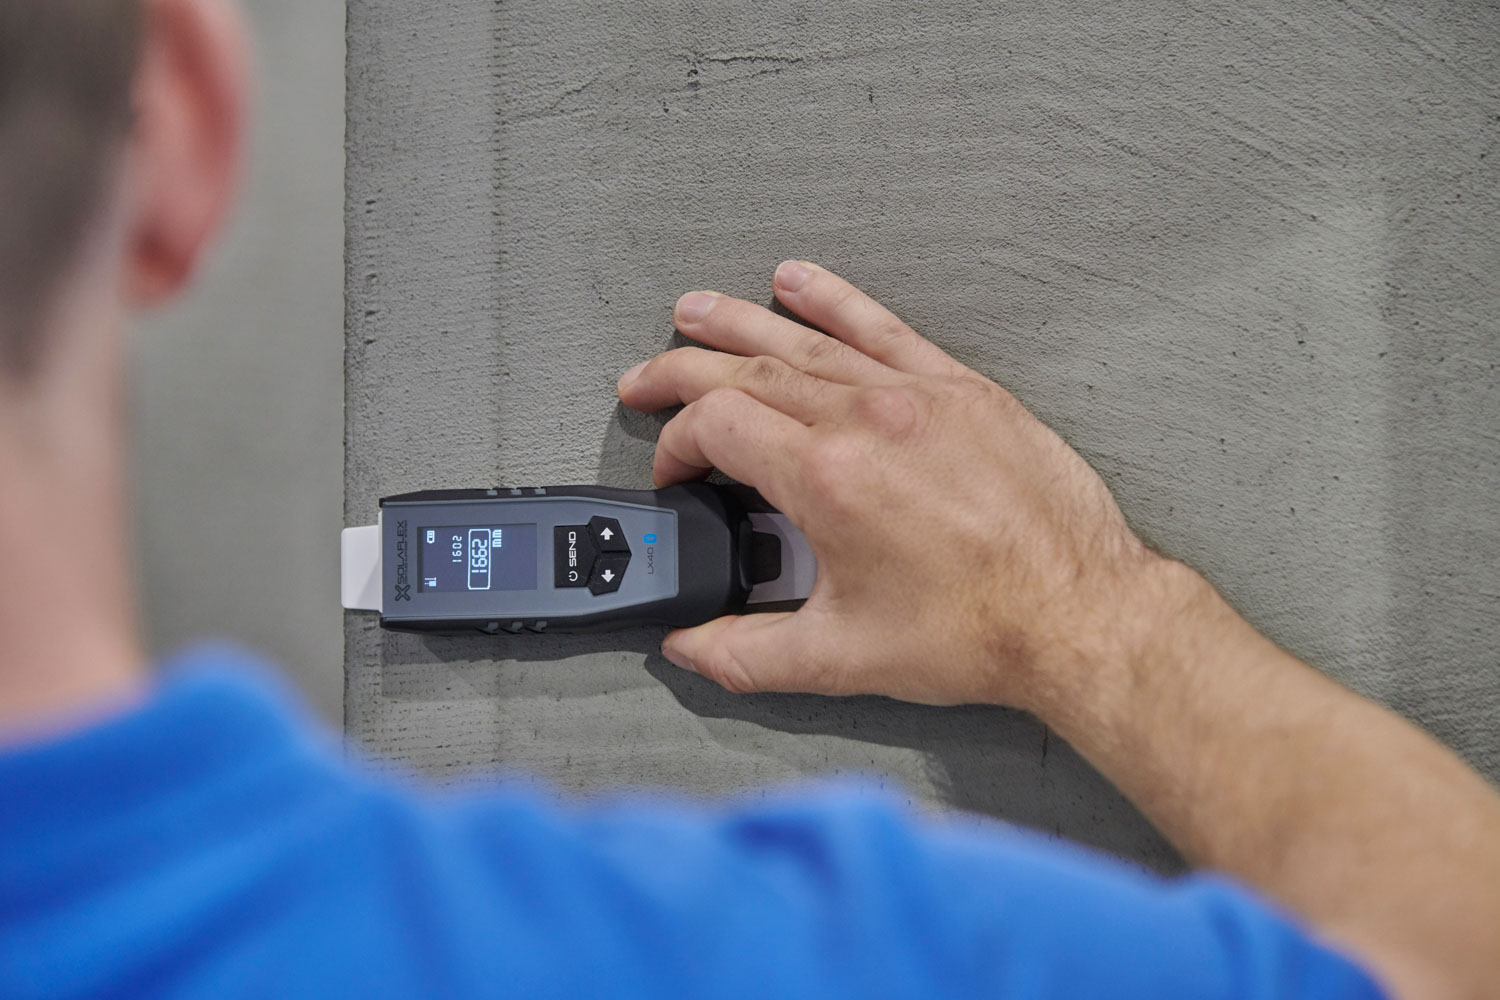
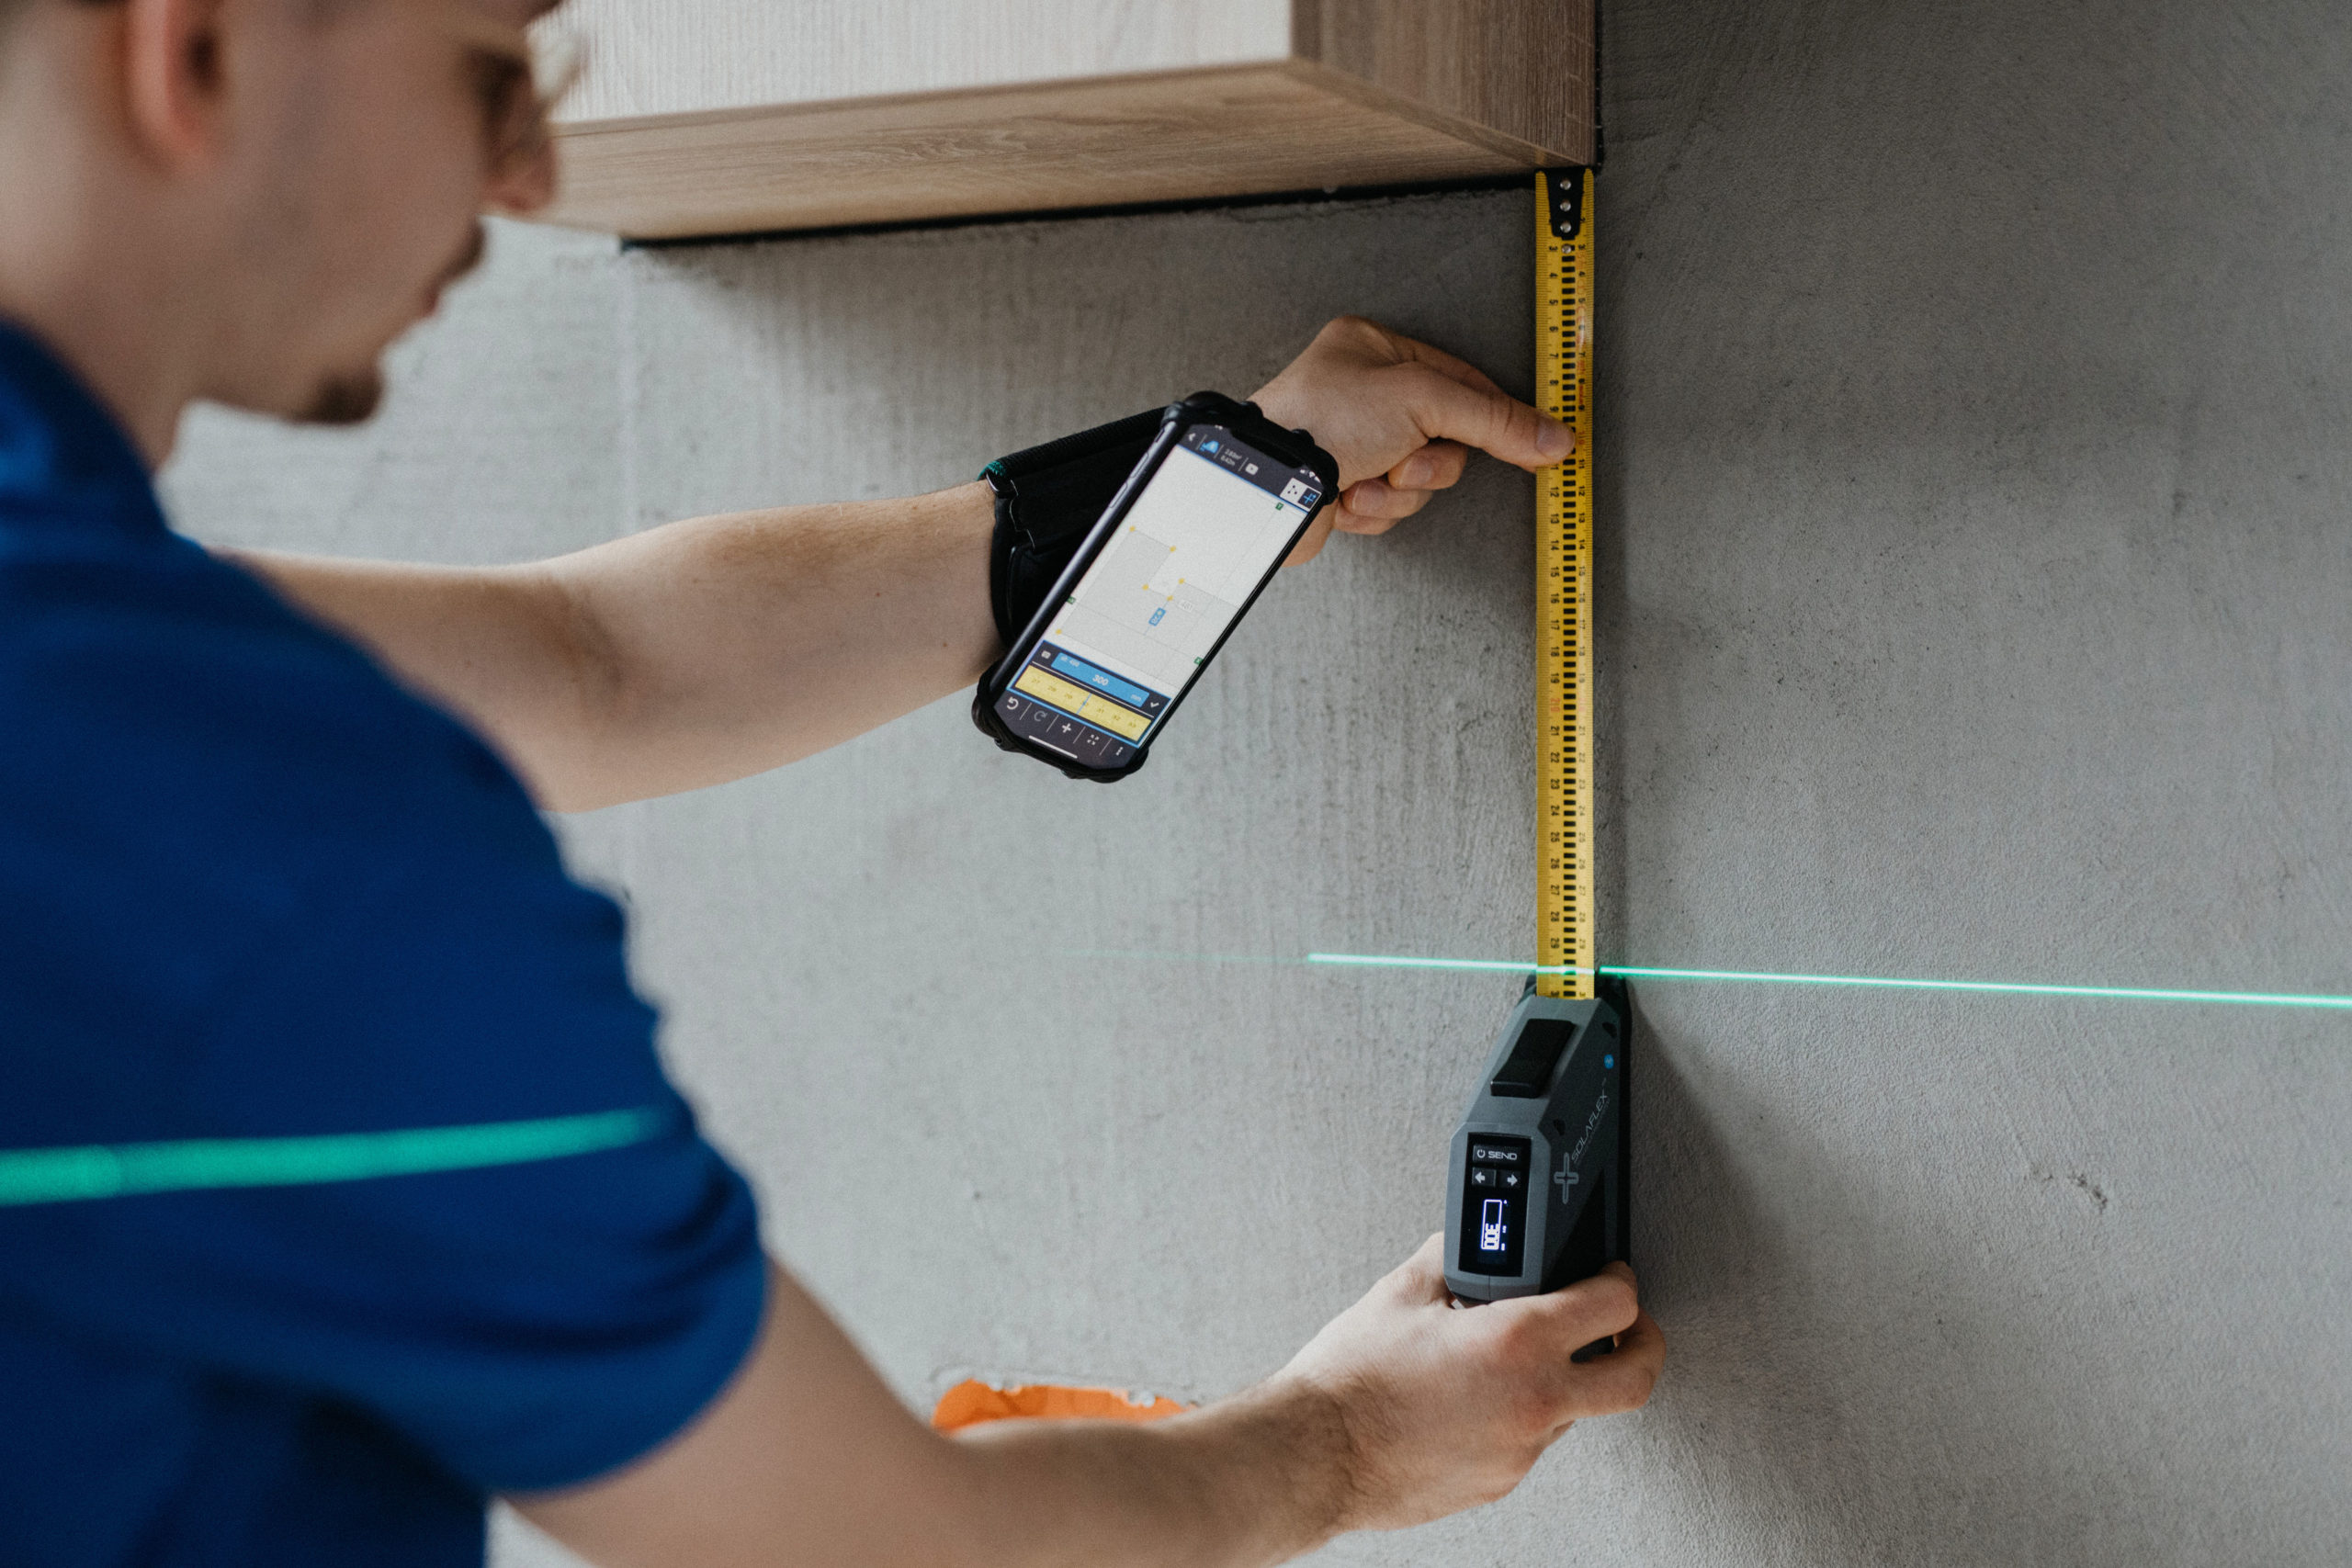
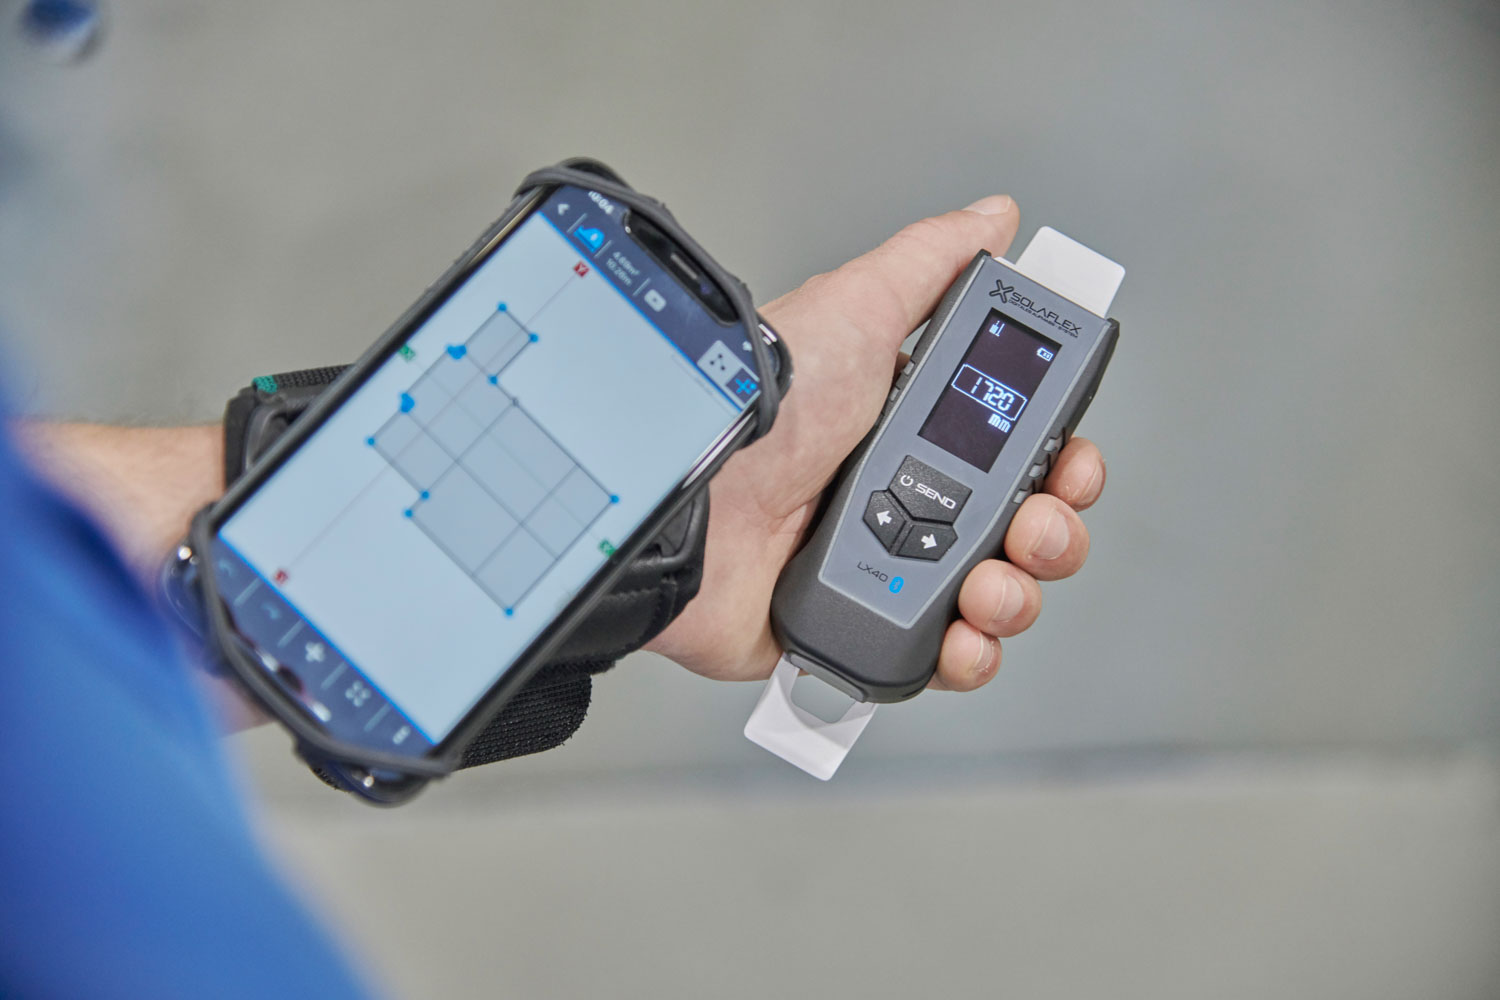
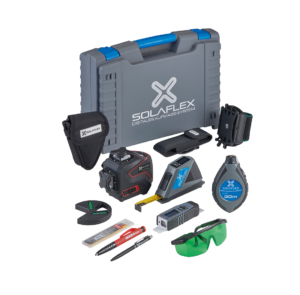
With a coordinate system, various contours can be captured quickly and efficiently. All you need is a Line Laser to project the necessary coordinates onto the object you’re measuring. Using the Digital Tape Measure, simply measure the X and Y distances to each contour point, and transfer the data to the Solaflex App with the push of a button.
The completed drawing can then be exported as a DXF file for further production.
For more details on the measurement process, please refer to our Step-by-Step Guide or one of our Video Tutorials.
With Solaflex
Achieve precise measurements
in just a few steps
Position the Line Laser
Select a position where you can measure as many contour points as possible. After positioning the Line Laser, it’s recommended to mark the crosshair with a pencil. Make sure not to change the position of the crosshair during the measurement process.
Pre-sketch the Object
Now, you can roughly sketch the object in the App. Be sure to place the contour points in the same quadrants as they are on the actual object.
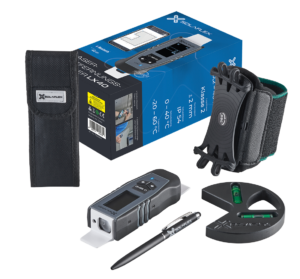
Connect the Tape Measure or laser distance meter
Turn on Bluetooth on your smartphone and connect it to the Tape Measure through the App.
Measurement Process
- Select any contour point by tapping on it.
- Measure the distance in the X-direction and transfer it to the App by pressing SEND. Note: The Tape Measure’s stop should be positioned roughly in the center of the laser beam during the measurement.
- Measure the distance in the Y-direction and transfer it to the app by pressing SEND.
- Once both distances are measured, the next contour point will be automatically selected.
- Repeat steps 2-3 for all contour points.
Marking Cutouts and Installations
In addition to measuring contours, you can also measure existing cutouts. To do this, you’ll need a reference point, which is usually positioned in the center of the cutout.
Inserting Objects
By pressing the “+” button, you can insert and configure cutouts, joint grids, or seams into the drawing.
When you add a rectangular or circular cutout, the center is automatically chosen as the reference point. If necessary, you can move this point to a different location.
Then, measure the object as described in Step 4.
Post-Processing
To ensure the smooth installation of the measured object, it’s important to freeze and adjust the final contour to account for installation gaps or overlaps.
To do this, go to “Additional Functions” and select “Freeze Contour.” Once the contour is frozen, the symbol will turn blue. You can then select the edge or contour point you want to modify and enter the desired adjustment. This process can be repeated for all edges or points of the contour.
The adjustment value for each edge or point can be viewed and changed at any time if needed.
Export
For further production, you can export your completed drawing as a DXF file. This can be done directly through the App or via MySolaflex on the web.
Practical measurment sets
Measurement Set with
Tape Measure
Measurement Set with
Laser Distance Meter
Professional
Measurement Set


